Fabric Giveaway - Flowers and Chevron

Friday, August 31, 2012


Hello! Look what I've got to share!
This time of year is a always a little bittersweet; summer drawing to an end yet the beginnings of a new school year. I don't know about you, but nothing cheers me up quite like fabric....so I'm sharing some of that goodness with my recent Carlsbad designs. 

What?! 

Yes! They're hot off the presses in happy colors like creamy tangerine, bright lagoon, and citrus with a touch of cool stone gray.  

I've got a pack of FOUR fat quarters to share; two Dahlia flower prints and two multi-colored Chevrons (yep, those beauties right up there).   All to one lovely reader! 

And if you just can't resist new fabric, you're welcome to hop over to my Spoonflower shop and scoop up your own!  Not so handy on the sewing machine? Check out my round-up of awesome no-sew fabric projects!


See, aren't they lovely?  I'm already planning some pillows and wall hangings around the house, but to enter, I'd love to hear what YOU would make with these prints! 

{{Fine Print: Comment below with what you'd create with these designs. Open until Thursday September 6th, 9pm pst, winner chosen at random. Includes four fat quarters of fabric.  Available to US and international friends.}}
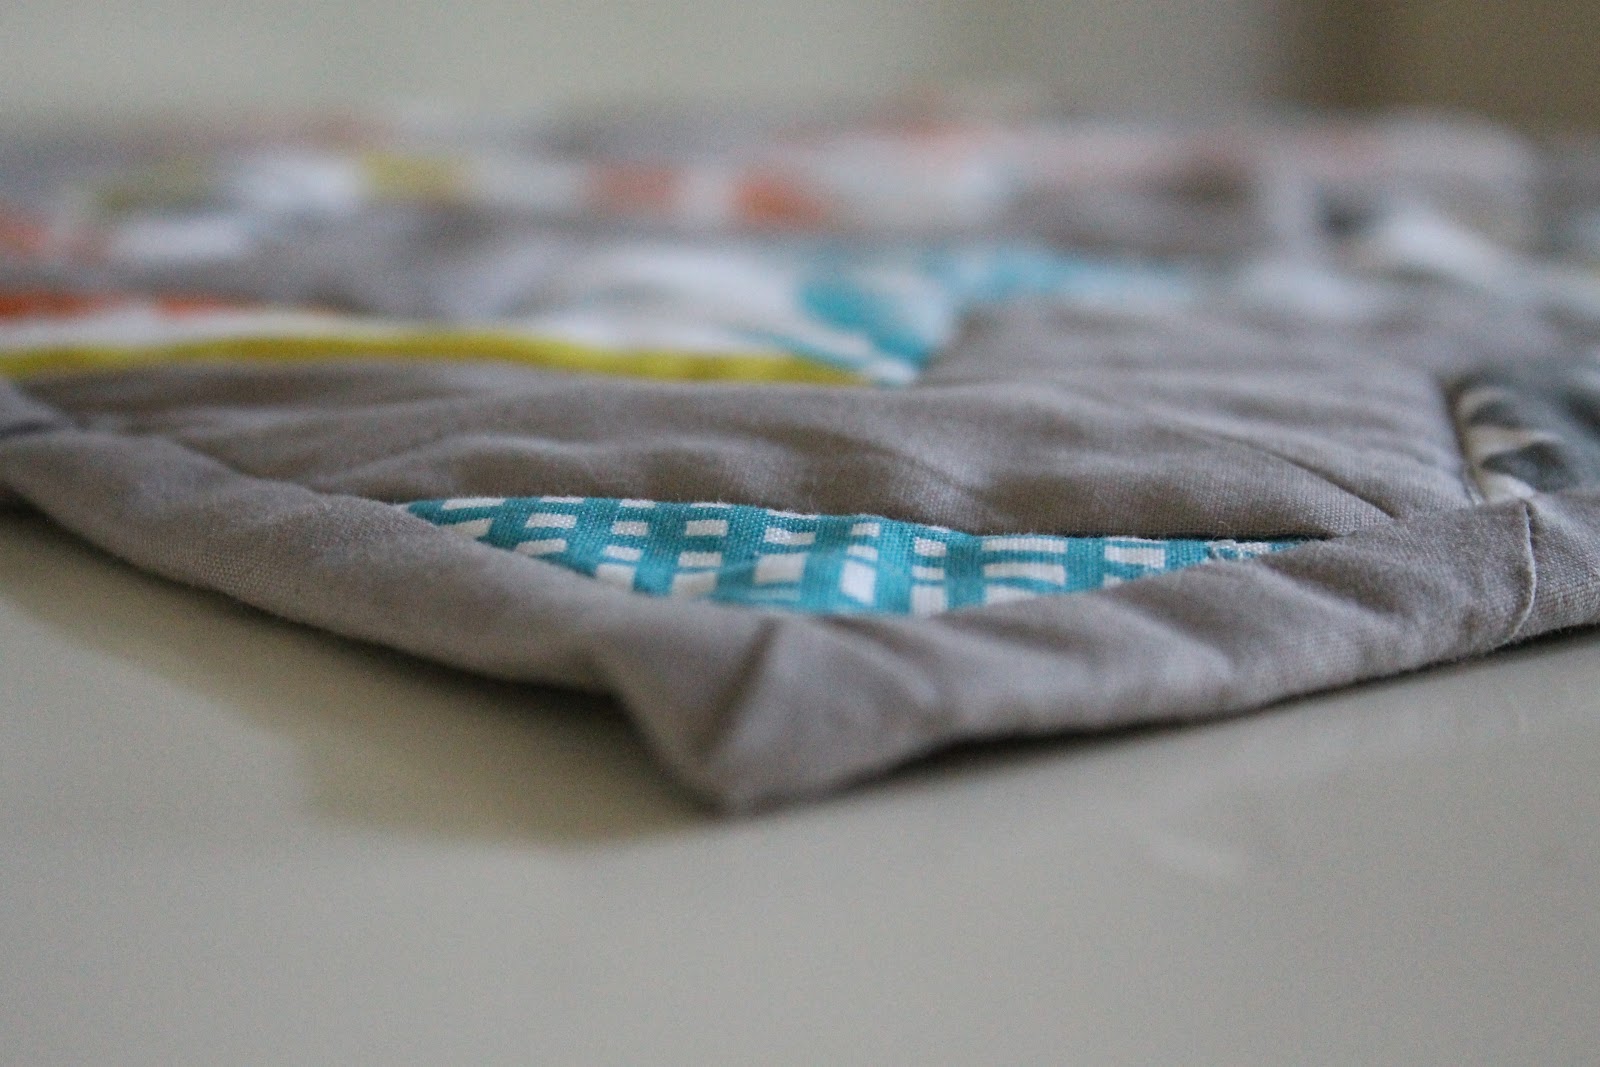

more peeks:

 bliss....

 personal favorite ;) 


oh, and this one too.  

oh heck, i love them all.  

chevrons, of course. 


Tutorial - Painted Vases, Mason Jars, and Bottles

Wednesday, August 29, 2012


tutorial painted vases mason jars bottles

tutorial painted vases mason jars bottles

Remember last week I was doing flips over the tutorial transformation of an old frame into a beauty of a cork board? Well, at it again over here- I gave these garage sale find vases and old bottles I had been collecting new life with a bit of happy paint. 

I love how they turned out so much, I can't stop making these. Seriously, I've raided my mom's old barn and am on the hunt for super cheap vases/jars/bottles! I can see these being a super lovely gift with flowers too. 

So, here's my tips & tricks: 

tutorial painted vases mason jars bottles

boo. a blurry photo. 

In any case, started with squeaky clean vases & jars of all sizes and paint suitable for glass. I used Martha Stewart's craft paint which is supposed to work on just about anything. I love the colors but am interested in trying a different brand to see if it coats a little better...

Step 1: 
Thin out the paint with a bit of water.  I mixed my paint & water in a little tub and this part was a little trial & error. I think I used about 4 parts paint to 1 part water.....  this is key: we're looking for a consistency thinner than creamy soup but thicker than hot chocolate (<--autumn must be drawing near!). In any case, you want it to be thin enough to coat the glass, like slowly glazing it, BUT you don't want it so thin that it sort of runs & streaks. This will leave uneven paint, require multiple coats, and look a little, um, crafty.   

Trust me, there are about 4 streaky marigold colored mason jars out there feeling a little left out.....

tutorial painted vases mason jars bottles

see how it's smoothly coating the inside? 

Step 2: 
Pour a bit of your thinned paint into the vase then roll and swirl the paint around. It takes a bit of patience (though it's easy!) and just sort of getting the hang of it. 

tutorial painted vases mason jars bottles
you can see here, my aqua colored vases need a second coat - these were a bit streaky. The end result was lovely, but the insides weren't as pretty as the gray....

Step 3: 
After you've coated the insides, be sure to pour out any remaining paint & let dry (check out your paint instructions) - I found that some of my bottles needed another coat. 

tutorial painted vases mason jars bottles

Step 4: 

Make more & enjoy!  This aqua beauty is one of my favorites in shape & color. 


tutorial painted vases mason jars bottles

I made all solid colors for this batch, but am thinking of some sort of ombre effect or combination next time around.  I told you, I can't stop.....

What do ya think? 

{more tutorials}

Finding Inspiration - Believing

Saturday, August 25, 2012


I found this quote just when I needed to see it. But I always say that right? Seems like that's how it all works... the very thing we need to hear finds it's way to us just when we need it to. 

What I love about this quote is that it's just so simple & straightforward.  I was talking with one of my best friend's yesterday about the power of what we tell ourselves. You know, the messages our mind plays over & over.  "That's not me." "I could never do that." "I'm a ______"   but what is so often negative could so easily be positive, right?


"This is me!"  "I do this."   I am a ____!!!" 

I mean, it's not like anyone else has to hear what we tell ourselves....you'd bust up laughing if you knew what my motivational self talk was :) But, in any case, right now, I'm choosing to believe in myself and we'll see where that goes. wink, wink. 


{image via tumblr}


{Need another dose of inspiration? Check out my Pinterest Board dedicated to those quotes we need to hear!}

Reclaimed Frame Cork Board Tutorial

Wednesday, August 22, 2012


Looky looky! Turned an old, sad frame into something marvelous! We've been needing a place to pin random cards, receipts, and such so after looking around I finally decided to make my own. This frame had been hanging around with no purpose, it was a drab gray and didn't have any glass. So, with a little color & cork, I made this little beauty. 

Here's how to do it (along with a few tips): 

Materials: 

Frame  (the older & more ornate the better, I think - just be sure to clean & sand if necessary) 

Cork  - bigger than your frame opening, preferable larger than your cardboard piece- see below (I used Board Dudes, 1/8" thick roll...you definitely want to make sure it has some thickness to it, some stuff out there is really thin & will just crumble)

Spray Adhesive

Cardboard - make sure this fits snugly into the back of your frame. The frame might already have a cardboard piece (lucky you!) but since my frame was a garage sale find, I just trimmed an old cardboard box

Spray Paint  - I used Design Master in Robin's Egg Blue

{not shown}
Binder Clips a plus
Exacto knife, blade, or scissors


Step 2 & 3:

Spray paint frame (following can directions). Somehow the mess I made didn't make a cut in the photo line-up :) 

While that's drying I began attaching the cardboard to the piece of cork.  Using the spray adhesive, I lightly sprayed the cardboard and then carefully laid it against my cork (being careful not to allow for air pockets). I then clipped the edges with binder clips to help it lay flat. You could also stack a pile of books on top too!   I let mine dry overnight. 


Step 4: 
After your cork + cardboard is nice and dry trim the edges of your cork board. Make sure it's even with your cardboard.


Step 5: 
Admire your work in progress :) 

{this is the finished cork on top of the cardboard}


Step 6:
Insert your cork/cardboard into the back of your frame. Make sure it's securely inserted. Since my frame lacked any sort of tabs, I needed to staple gun it in. 


Step 7: 
Voila! 


corkboard

Step 8: 
Pin on lots of lovelies on & enjoy! 


cork board


I love remaking something old into something new and re-loved.  What's your favorite remake project? 


{more tutorials}

Hooray- A Few (of my!) Fabric Designs

Monday, August 20, 2012


Hip, hip, hooray!  I am beyond excited to (finally!!) share some of the designs I've been working on lately. I've got to say though, that this little collection of breezy happiness is *not* the main collection I've been working on day in & day out. That one will have to wait....

Until then, I wanted to show you a few prints I've created - a little nod towards the those last golden days of summer. Actually, these designs are inspired by my hubby's hometown of Carlsbad, California. It always seems so glowing there to me. Can't you just imagine the sparkling ocean & cool mornings? Along with the bloom of dahlias, it's like a little retreat. 

Soon, these beauties will be available for purchase on Spoonflower. Plus- I'm planning a fun little giveaway soon :)   I've created many of the prints in other color combinations too: 


You didn't think I'd forget chevron did you? This one is designed to print as a whole yard...perfect for a easy baby quilt. Just stitch in along the zig-zag! 


Oh, and my super top-secret collection I'm busting at the seams to share? Well, hopefully I'll have plans for that soon- but here's a little tease with the color palette. 

So, there you go. A few of my designs in all their glory....bright, bold, and clean. In addition to wanting these in my studio right this very second, I'd also really love to hear your thoughts! Go ahead, give me your constructive criticism :) 

Making Mistakes

Friday, August 17, 2012


Yes! 

Adore this print from ModCloth, and it's just what I need to hear. Sometimes I'm just so worried about doing something wrong I don't do anything at all. Ugh. I try reminding myself that some of the most amazing experiences & revelations come from our biggest flops. At least, that's how it works for me. Seems like a lot of my business know-how came from trial & error.... Anyone else feel like this? 

I guess it's easy to have regrets & focus on our errors, but this print inspired me to think of mistakes I've made that I'm actually thankful for:


1.  Not following my gut early on in business.  ->  Lesson learned.

2.  A textile design mess up that has turned into one of my favorite prints. 

3.  My first product photos. They were sad.  I love seeing how far I've come...

4.  Not trying my hardest in college.  Inspired me to work my butt off later in grad school. 

5.  Passed up the opportunity for invite-only honors arts class. (what was I thinking?!)  I know to never let a good thing pass me by again...

6. Gave in too easily with important decisions. Now I hold on to what I really treasure. 


Ok, don't hold back- I'd love to hear what mistakes you've made that have only made you better! 


Lovely Birds

Thursday, August 16, 2012


Lovely birds! I found these pretties at Gennines Art Blog and just adore them.  Seems like we've been buzzing about birds around here lately, it's one of Luke's first words...and he peeks out the window each morning to watch them in our backyard. Sweetest thing ever, he just stands there and points all excitedly. And, they've kind of become my parenting secret weapon now that he's in the rascal phase, as in, "We don't climb over  the couch Luke! Oh, look!  Where are the birdies?"  Shameful, I know :) 

And with a fantastic bird find at the store....

I know, it might be hard to look past the fuzzy mop of curls to appreciate his joy of the stuffed bird!

Chevron Quilt Wall Hanging - With Lotta Jansdotter Goodness

Tuesday, August 14, 2012


Finally, this little beauty is complete! I was so thrilled to receive my Lotta Jansdotter charm pack in the late spring, I started straight away on making a chevron wall hanging. Inspired by the Arrow Quilt from Molly Flanders, I adapted her technique to create a chevron design. 

And true to my quilting style, I made the top and let it sit for a few months before quilting it! (why do I always do that? anyone else?) Anyhow, I quilted it this week, it's just a small square, about 16" and finally hung it up in our hallway that needed some pop of color.  And, of course, the Bella collection has lots of color. Totally my style & palette. In fact, I had been using some of these same combos in my own fabric design sketches! 


And the back - I love the solid turquoise. It's even kind of lovely just to look at it from this view. 

 Simple stitch in the ditch.

Close up.


I did have some of the charm pieces left over & made a super cute garland bunting for the boys' playroom. Pictures as soon as the room's all organized. ha. 

So what do you think? It was super simple - I'm planning a bigger version for a baby quilt....where would you put your chevron? Who wants a tutorial??


Fabric Flower Tutorial

Monday, August 13, 2012


I love making all kinds of fabric flowers & wanted to share one of my simple methods. These flowers are so super easy & lovely, you'll just want to keep making them.  You can determine the size and attach them to just about anything. I'm envisioning a throw pillow covered in big fluffy versions of these. Anyhow...let's get started! 

{I shared one of these tutorials before, but this is a lovely, updated version!}

What you need: 
A strip of fabric: you decide the width & length. For the middle flower above, I used a 2" x 20" strip. Wider strips make for taller flowers, notice the smaller flower had a 1" width.  For length, the longer you go the larger your flower gets in diameter. I used what was in my scrap box, but for larger flowers, I'd use longer than 20".

Sewing Machine: 
You can totally sew these by hand, but a trick I do on the machine makes them extra easy. 

Optional: Fabric Glue:
To finish off the flower, we can sew or glue it in place. Depending on where I plan on using the little lovely, determines which method I use. 

Step 1:
Fold strip in half and press with an iron. 

Option: You can fold in the raw edge (like binding) to create a cleaner finish on the bottom of your flower (as shown above). Just note that this will make you flower smaller, so you may need to increase the width you start with to get your desired look.  I fold in the raw edges if I think they'll be noticed on the project I'm using them for (attaching to a shirt for example...) But you can always cover up raw edges in the end, so it's totally up to you! 


Step 2:
Stitch the down the open edge of your strip (I'm now using a strip with a raw edge).  Set a long stitch with about a 1/4" seam allowance. Here's my trick: As you sew, go slowly, and carefully, firmly hold on to the top thread of your machine. Try to do it evenly with more of a hold than a tug. As you stitch this will make your strip curl into ruffly goodness! 

It can take a bit of practice and if you prefer, you can always do long basting stitches by hand and then pull the thread at the end, causing it to gather. The machine method does make for more of a ruffle than a gather though. 

Here's a small flower all curled after being stitched on the machine. Look how wonderfully twisty & curly it is! 


Step 3: 
Now that you've got a lovely ruffled strip, it's time to wrap it into a flower. I start by sort of making a tight, folded center and gently folding the strip around the middle. In these flowers, I've just wrapped them around concentrically but in the past I've also done more folding...just play with it! The tricky part can be the middle - it can sometimes slip away or pop out. You may want to dab bits of glue as you go. OR you can also stitch as you go (as seen here on an earlier fabric flower tutorial I created). 

Step 4:
To finish it off, I tuck in the end of the strip, making a nice clean pointed edge and sort of fold it under a bit. 


Step 5:
So now you've got a lovely, rolled & ruffly flower. In this case, I'm finishing it by attaching a felt circle with fabric glue. This will hold the layers together and cover the raw edges. As I mentioned though, you can sew through all the layers (getting the needle through can be a bit tricky so use a big one...)

You can even attach a pin back if you want :) 


Here's what we've got - this flower is flipped over and I've gently molded the felt circle around the bottom, hiding any raw edges. 


Ta da! Now you're ready to attach it to just about anything. I, of course, love adding them to my clutches :)


About my tutorials: I love folks sharing my ideas, please just link back to this post. Also, these are just for personal use :)  And, if you find any mistakes or need clarification, I'm always happy to answer! 

With Room To Sew...

Thursday, August 09, 2012

Love peeking into the world where people create. 
A couple years ago, I did a round up of the creative spaces of folks I knew and am excited to be exploring the places of my readers now too! {got sewing room pics? send them my way!} 

Here's a few of my current favorites via Pinterest
denyse schmidt's simple + industrial sewing space via pink chalk fabrics
clean and bright room from Fjeldborg
{violet craft on pink chalk fabrics}

I'm still moving into my space (yes, it's been over 4 months, but still....) and am envisioning gray walls, pops of color, lots of wall areas to hang inspiration & fabric designs. And of course, some sort of organization. Not sure about that....

Looking for craft room tips? Check out this post from Real Simple on organizing creative spaces. Don't forget to send me your photos & check back for more creative spaces posts...